Tier List Hot Zone
Los mejores brawlers para Hot Zone ordenados por tasa de victoria con datos reales de partidas.
Hot Zone es un modo de control de zona donde los equipos capturan y mantienen areas marcadas. La clasificacion se basa en la tasa de victoria ajustada, que tiene en cuenta el tamano de la muestra.
| # | Brawler | Tier | Tasa Vic. | Tasa Uso |
|---|---|---|---|---|
| 1 |

Bolt
Strong choice. Holds zones by soaking damage. Hard to dislodge once positioned on an objective.
|
A | 83.2% | 4.9% |
| 2 |
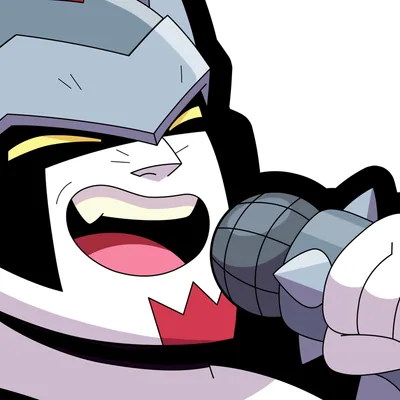
Damian
Solid option. Holds zones by soaking damage. Hard to dislodge once positioned on an objective.
|
B | 70.6% | 5.0% |
| 3 |
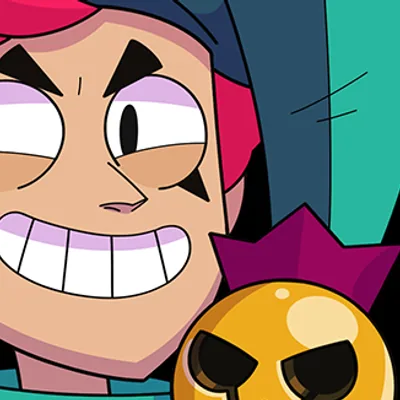
Chester
Solid option. Clears enemies off zones with burst damage. Needs teammates to hold afterward.
|
B | 67.8% | 5.7% |
| 4 |
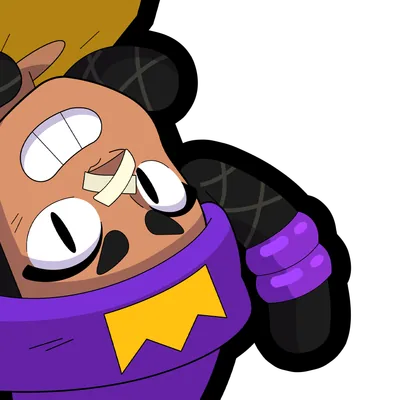
Mina
Solid option. Punishes enemies approaching zones from distance. Loses impact inside the zone.
|
B | 68.0% | 3.9% |
| 5 |
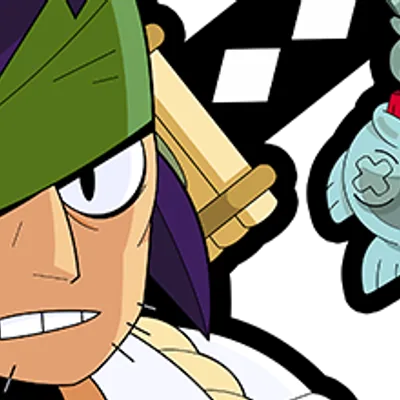
Kenji
Solid option. Clears enemies off zones with burst damage. Needs teammates to hold afterward.
|
B | 68.3% | 3.2% |
| 6 |
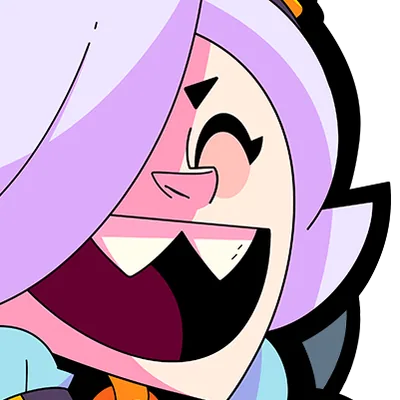
Colette
Solid option. Wins head-to-head fights on the zone. Pairs well with a tank anchor.
|
B | 63.6% | 4.4% |
| 7 |
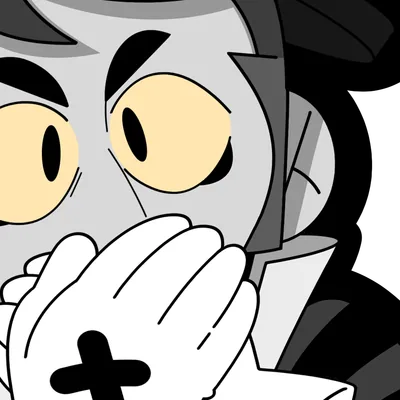
Gray
Solid option. Consistent area pressure denies enemy access to zones. High zone presence.
|
B | 86.5% | 1.4% |
| 8 |

Meeple
Solid option. Consistent area pressure denies enemy access to zones. High zone presence.
|
B | 61.6% | 4.8% |
| 9 |
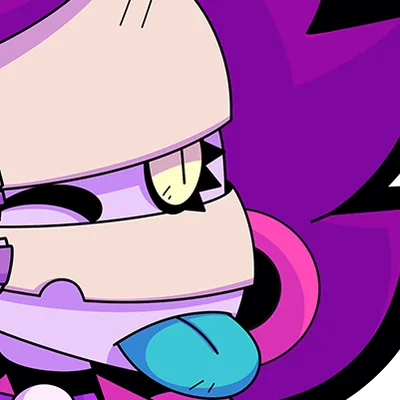
Emz
Solid option. Consistent area pressure denies enemy access to zones. High zone presence.
|
B | 70.8% | 2.1% |
| 10 |
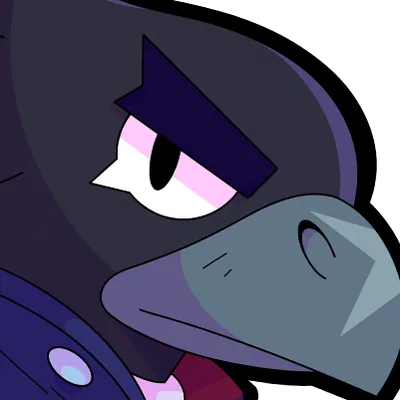
Crow
Solid option. Clears enemies off zones with burst damage. Needs teammates to hold afterward.
|
B | 61.3% | 3.8% |
| 11 |

Lou
Solid option. Consistent area pressure denies enemy access to zones. High zone presence.
|
B | 75.3% | 1.5% |
| 12 |

Mortis
Solid option. Clears enemies off zones with burst damage. Needs teammates to hold afterward.
|
B | 59.3% | 4.2% |
| 13 |
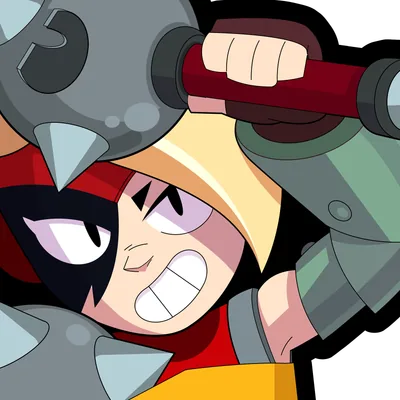
Lumi
Solid option. Wins head-to-head fights on the zone. Pairs well with a tank anchor.
|
B | 59.4% | 4.2% |
| 14 |
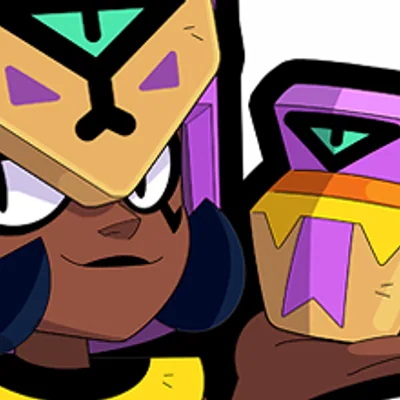
Najia
Solid option. Wins head-to-head fights on the zone. Pairs well with a tank anchor.
|
B | 59.1% | 4.1% |
| 15 |

Sirius
Solid option. Consistent area pressure denies enemy access to zones. High zone presence.
|
B | 71.6% | 1.4% |
| 16 |
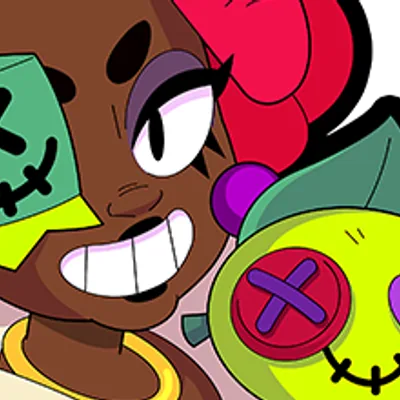
Juju
Solid option. Consistent area pressure denies enemy access to zones. High zone presence.
|
B | 64.8% | 2.1% |
| 17 |

Starr Nova
Solid option. Clears enemies off zones with burst damage. Needs teammates to hold afterward.
|
B | 70.7% | 1.4% |
| 18 |

Charlie
Solid option. Consistent area pressure denies enemy access to zones. High zone presence.
|
B | 84.1% | 0.8% |
| 19 |
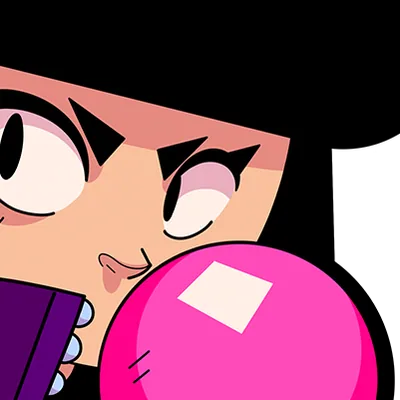
Bibi
Solid option. Holds zones by soaking damage. Hard to dislodge once positioned on an objective.
|
B | 74.2% | 1.2% |
| 20 |

Poco
Solid option. Heals teammates holding zones, directly extending time on point.
|
B | 77.8% | 0.9% |
| 21 |
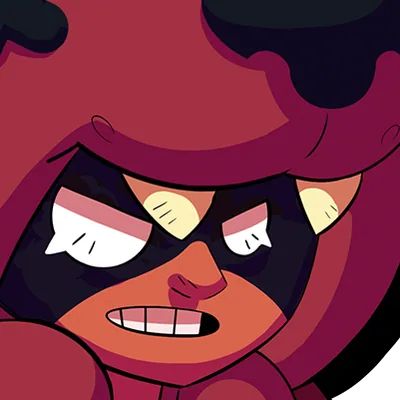
Nita
Solid option. Wins head-to-head fights on the zone. Pairs well with a tank anchor.
|
B | 73.3% | 0.9% |
| 22 |
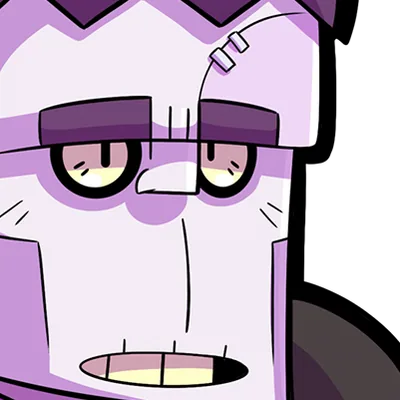
Frank
Solid option. Holds zones by soaking damage. Hard to dislodge once positioned on an objective.
|
B | 72.7% | 0.8% |
| 23 |
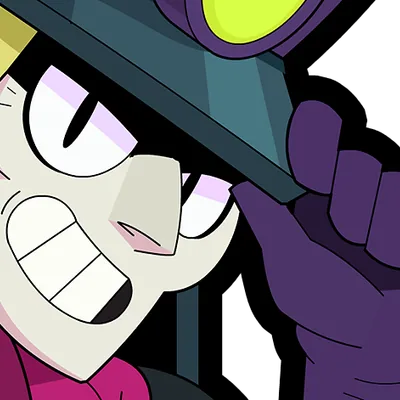
Chuck
Solid option. Clears enemies off zones with burst damage. Needs teammates to hold afterward.
|
B | 70.8% | 0.9% |
| 24 |
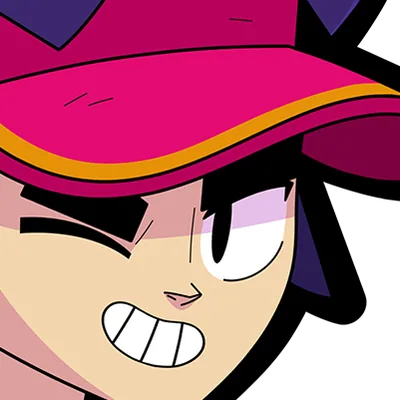
Fang
Solid option. Clears enemies off zones with burst damage. Needs teammates to hold afterward.
|
B | 66.1% | 1.2% |
| 25 |
Edgar
Solid option. Clears enemies off zones with burst damage. Needs teammates to hold afterward.
|
B | 58.1% | 2.5% |
| 26 |
Alli
Solid option. Clears enemies off zones with burst damage. Needs teammates to hold afterward.
|
B | 73.2% | 0.8% |
| 27 |
Shade
Solid option. Clears enemies off zones with burst damage. Needs teammates to hold afterward.
|
B | 58.5% | 2.2% |
| 28 |

Penny
Solid option. Lobs attacks into zone centers without entering, making them costly to contest.
|
B | 71.1% | 0.9% |
| 29 |
Buzz
Solid option. Holds zones by soaking damage. Hard to dislodge once positioned on an objective.
|
B | 76.5% | 0.6% |
| 30 |
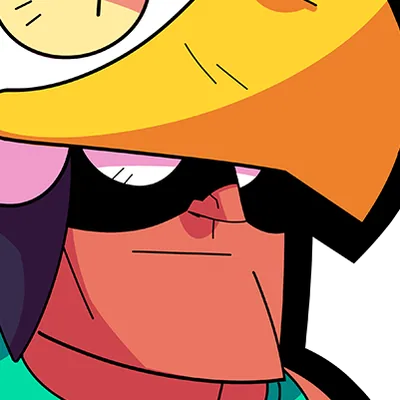
Bo
Solid option. Consistent area pressure denies enemy access to zones. High zone presence.
|
B | 58.7% | 1.7% |
| 31 |

Finx
Solid option. Consistent area pressure denies enemy access to zones. High zone presence.
|
B | 59.0% | 1.5% |
| 32 |
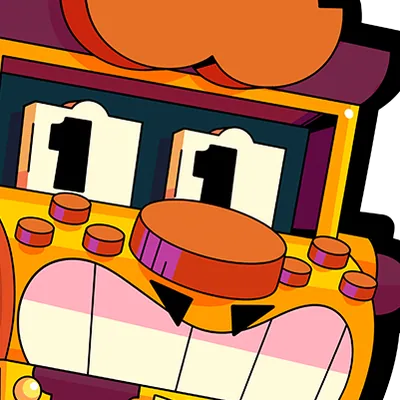
Griff
Solid option. Wins head-to-head fights on the zone. Pairs well with a tank anchor.
|
B | 63.8% | 0.9% |
| 33 |

Mr. P
Solid option. Lobs attacks into zone centers without entering, making them costly to contest.
|
B | -- | -- |
| 34 |

Bea
Solid option. Punishes enemies approaching zones from distance. Loses impact inside the zone.
|
B | -- | -- |
| 35 |
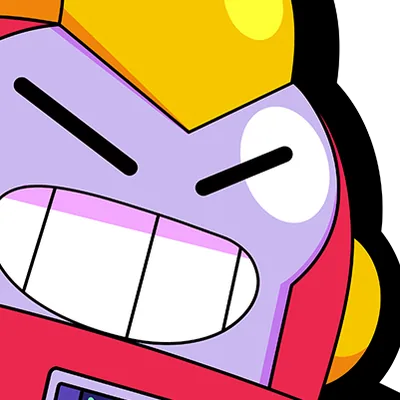
Surge
Solid option. Wins head-to-head fights on the zone. Pairs well with a tank anchor.
|
B | -- | -- |
| 36 |
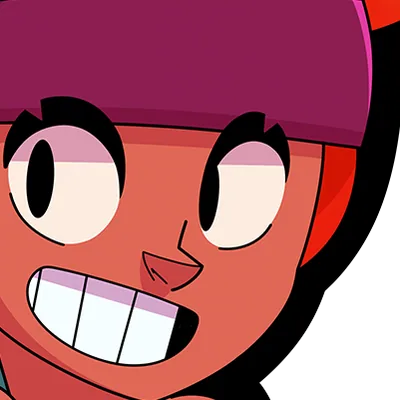
Amber
Solid option. Consistent area pressure denies enemy access to zones. High zone presence.
|
B | -- | -- |
| 37 |

Tara
Solid option. Consistent area pressure denies enemy access to zones. High zone presence.
|
B | -- | -- |
| 38 |
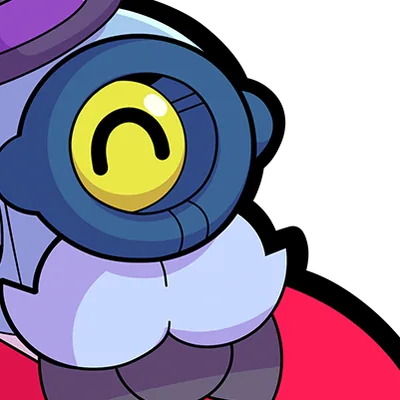
Barley
Solid option. Rains attacks over obstacles into the zone. Forces enemies to keep moving.
|
B | -- | -- |
| 39 |
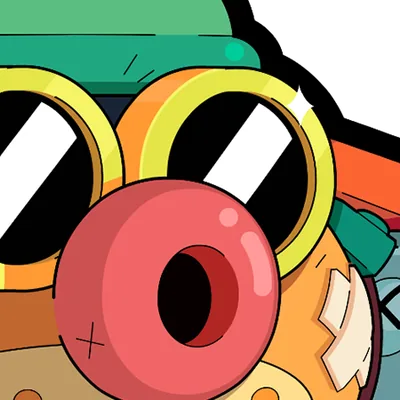
Hank
Solid option. Holds zones by soaking damage. Hard to dislodge once positioned on an objective.
|
B | -- | -- |
| 40 |
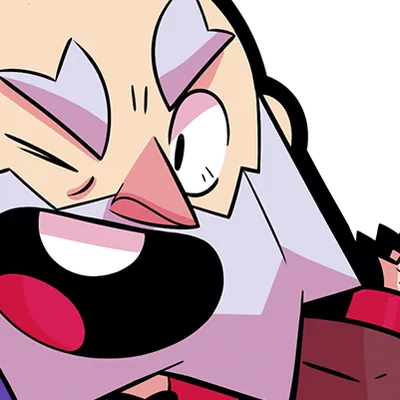
Dynamike
Solid option. Rains attacks over obstacles into the zone. Forces enemies to keep moving.
|
B | -- | -- |
| 41 |

Berry
Solid option. Heals teammates holding zones, directly extending time on point.
|
B | -- | -- |
| 42 |

Ollie
Solid option. Consistent area pressure denies enemy access to zones. High zone presence.
|
B | -- | -- |
| 43 |

Jessie
Solid option. Consistent area pressure denies enemy access to zones. High zone presence.
|
B | -- | -- |
| 44 |

R-t
Solid option. Wins head-to-head fights on the zone. Pairs well with a tank anchor.
|
B | -- | -- |
| 45 |
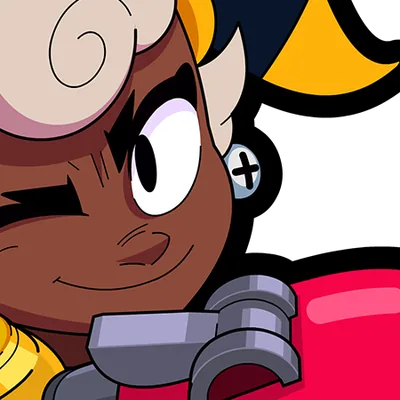
Maisie
Solid option. Wins head-to-head fights on the zone. Pairs well with a tank anchor.
|
B | -- | -- |
| 46 |

Ziggy
Solid option. Clears enemies off zones with burst damage. Needs teammates to hold afterward.
|
B | -- | -- |
| 47 |

Shelly
Solid option. Wins head-to-head fights on the zone. Pairs well with a tank anchor.
|
B | -- | -- |
| 48 |

Sprout
Solid option. Rains attacks over obstacles into the zone. Forces enemies to keep moving.
|
B | -- | -- |
| 49 |

Gale
Solid option. Consistent area pressure denies enemy access to zones. High zone presence.
|
B | -- | -- |
| 50 |

Byron
Solid option. Heals teammates holding zones, directly extending time on point.
|
B | -- | -- |
| 51 |
Sandy
Solid option. Consistent area pressure denies enemy access to zones. High zone presence.
|
B | -- | -- |
| 52 |
Ruffs
Solid option. Heals teammates holding zones, directly extending time on point.
|
B | 57.1% | 0.7% |
| 53 |
Eve
Solid option. Consistent area pressure denies enemy access to zones. High zone presence.
|
B | -- | -- |
| 54 |
Draco
Solid option. Holds zones by soaking damage. Hard to dislodge once positioned on an objective.
|
B | -- | -- |
| 55 |
Jae-yong
Solid option. Heals teammates holding zones, directly extending time on point.
|
B | -- | -- |
| 56 |
Gus
Solid option. Heals teammates holding zones, directly extending time on point.
|
B | -- | -- |
| 57 |
Clancy
Solid option. Wins head-to-head fights on the zone. Pairs well with a tank anchor.
|
B | -- | -- |
| 58 |

El Primo
Solid option. Holds zones by soaking damage. Hard to dislodge once positioned on an objective.
|
B | -- | -- |
| 59 |

Glowy
Solid option. Heals teammates holding zones, directly extending time on point.
|
B | -- | -- |
| 60 |
Jacky
Solid option. Holds zones by soaking damage. Hard to dislodge once positioned on an objective.
|
B | -- | -- |
| 61 |

Carl
Solid option. Wins head-to-head fights on the zone. Pairs well with a tank anchor.
|
B | -- | -- |
| 62 |
Bull
Solid option. Holds zones by soaking damage. Hard to dislodge once positioned on an objective.
|
B | 54.5% | 0.6% |
| 63 |
Trunk
Solid option. Holds zones by soaking damage. Hard to dislodge once positioned on an objective.
|
B | 54.0% | 0.7% |
| 64 |

Otis
Solid option. Consistent area pressure denies enemy access to zones. High zone presence.
|
B | 51.5% | 1.8% |
| 65 |

Gigi
Solid option. Clears enemies off zones with burst damage. Needs teammates to hold afterward.
|
B | -- | -- |
| 66 |

Spike
Solid option. Consistent area pressure denies enemy access to zones. High zone presence.
|
B | 53.1% | 0.6% |
| 67 |
Tick
Solid option. Rains attacks over obstacles into the zone. Forces enemies to keep moving.
|
B | -- | -- |
| 68 |

Ash
Solid option. Holds zones by soaking damage. Hard to dislodge once positioned on an objective.
|
B | -- | -- |
| 69 |
Melodie
Solid option. Clears enemies off zones with burst damage. Needs teammates to hold afterward.
|
B | -- | -- |
| 70 |

Pam
Solid option. Heals teammates holding zones, directly extending time on point.
|
B | -- | -- |
| 71 |
Darryl
Solid option. Holds zones by soaking damage. Hard to dislodge once positioned on an objective.
|
B | -- | -- |
| 72 |
Bonnie
Solid option. Punishes enemies approaching zones from distance. Loses impact inside the zone.
|
B | -- | -- |
| 73 |
Kaze
Solid option. Clears enemies off zones with burst damage. Needs teammates to hold afterward.
|
B | -- | -- |
| 74 |
Leon
Solid option. Clears enemies off zones with burst damage. Needs teammates to hold afterward.
|
B | 51.3% | 1.4% |
| 75 |

Nani
Solid option. Punishes enemies approaching zones from distance. Loses impact inside the zone.
|
B | -- | -- |
| 76 |
Buster
Solid option. Holds zones by soaking damage. Hard to dislodge once positioned on an objective.
|
B | -- | -- |
| 77 |
Angelo
Solid option. Punishes enemies approaching zones from distance. Loses impact inside the zone.
|
B | -- | -- |
| 78 |
Larry & Lawrie
Solid option. Lobs attacks into zone centers without entering, making them costly to contest.
|
B | -- | -- |
| 79 |
Pearl
Solid option. Wins head-to-head fights on the zone. Pairs well with a tank anchor.
|
B | -- | -- |
| 80 |
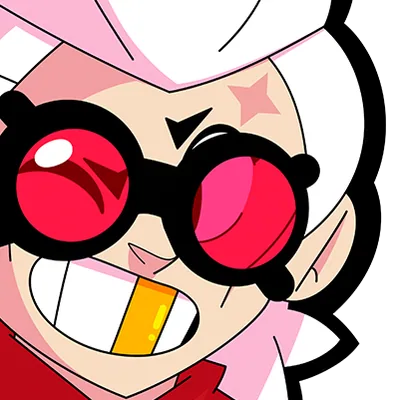
Belle
Solid option. Punishes enemies approaching zones from distance. Loses impact inside the zone.
|
B | -- | -- |
| 81 |
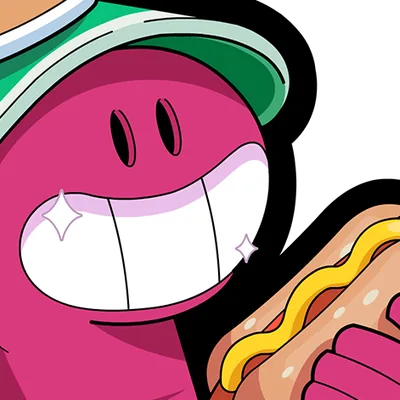
Doug
Solid option. Heals teammates holding zones, directly extending time on point.
|
B | -- | -- |
| 82 |

Colt
Solid option. Wins head-to-head fights on the zone. Pairs well with a tank anchor.
|
B | 50.0% | 0.9% |
| 83 |
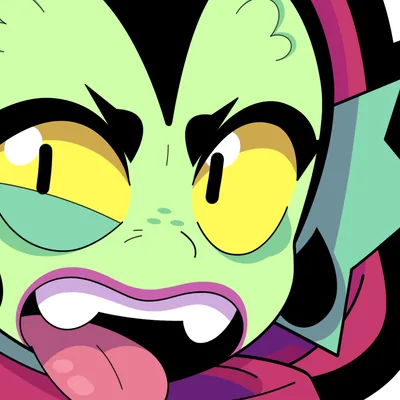
Willow
Solid option. Consistent area pressure denies enemy access to zones. High zone presence.
|
B | -- | -- |
| 84 |
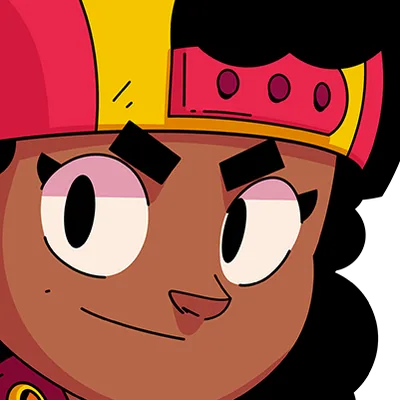
Meg
Solid option. Holds zones by soaking damage. Hard to dislodge once positioned on an objective.
|
B | -- | -- |
| 85 |
Stu
Situational. Clears enemies off zones with burst damage. Needs teammates to hold afterward.
|
C | 49.4% | 1.6% |
| 86 |

Squeak
Situational. Consistent area pressure denies enemy access to zones. High zone presence.
|
C | -- | -- |
| 87 |

Kit
Situational. Heals teammates holding zones, directly extending time on point.
|
C | -- | -- |
| 88 |
Mandy
Situational. Punishes enemies approaching zones from distance. Loses impact inside the zone.
|
C | -- | -- |
| 89 |

Grom
Situational. Rains attacks over obstacles into the zone. Forces enemies to keep moving.
|
C | -- | -- |
| 90 |

Piper
Situational. Punishes enemies approaching zones from distance. Loses impact inside the zone.
|
C | -- | -- |
| 91 |

8-bit
Situational. Wins head-to-head fights on the zone. Pairs well with a tank anchor.
|
C | -- | -- |
| 92 |
Moe
Situational. Wins head-to-head fights on the zone. Pairs well with a tank anchor.
|
C | -- | -- |
| 93 |
Pierce
Situational. Punishes enemies approaching zones from distance. Loses impact inside the zone.
|
C | 49.5% | 4.1% |
| 94 |

Mico
Situational. Clears enemies off zones with burst damage. Needs teammates to hold afterward.
|
C | -- | -- |
| 95 |
Sam
Situational. Holds zones by soaking damage. Hard to dislodge once positioned on an objective.
|
C | -- | -- |
| 96 |
Lily
Situational. Clears enemies off zones with burst damage. Needs teammates to hold afterward.
|
C | -- | -- |
| 97 |

Rico
Situational. Wins head-to-head fights on the zone. Pairs well with a tank anchor.
|
C | -- | -- |
| 98 |

Janet
Situational. Wins head-to-head fights on the zone. Pairs well with a tank anchor.
|
C | -- | -- |
| 99 |

Lola
Situational. Wins head-to-head fights on the zone. Pairs well with a tank anchor.
|
C | -- | -- |
| 100 |
Rosa
Situational. Holds zones by soaking damage. Hard to dislodge once positioned on an objective.
|
C | -- | -- |
| 101 |

Brock
Situational. Punishes enemies approaching zones from distance. Loses impact inside the zone.
|
C | -- | -- |
| 102 |

Cordelius
Situational. Clears enemies off zones with burst damage. Needs teammates to hold afterward.
|
C | 45.5% | 0.6% |
Actualizado el 2026-06-30. Se requieren minimo 30 partidas para mostrar tasa de victoria. El tier refleja la tasa de victoria ajustada.