
Bo
CONTROLLER Season 26

BO

A
OVERALL TIER
73
META SCORE

MODE RATINGS

GEM GRAB
80
HOT ZONE
78
KNOCKOUT
74
BRAWL BALL
64
BOUNTY
72
HEIST
70

BEST BUILD

Star Powers
Circling Eagle
Circling Eagle
Snare a Bear
Snare a Bear
Gadgets
Super Totem
Super Totem
Tripwire
Tripwire
Hypercharge
Catch a BearCatch a Bear

BEST MAPS

Double Swoosh
Gem Grab
80
Open Space
Gem Grab
75
Parallel Plays
Hot Zone
75
Center Stage
Hot Zone
71
Crystal Arcade
Knockout
69

FREQUENTLY ASKED QUESTIONS

Bo is currently A-tier in Gem Grab with a score of 80/100. As a Controller, Bo denies zones and controls objective access with area abilities, making it a reliable pick when the meta favors Gem Grab.
Run Circling Eagle as the default Star Power for Bo — it works in most situations. Switch to Snare a Bear on maps that punish your main weakness. For Gadgets, Super Totem is the standard active pick; Tripwire is situationally better on specific map types. Speed and Shield Gears are the standard choice.
Bo struggles against Piper and Brock, who can out-trade Bo at the ranges or map types where Bo is most exposed. On the flip side, Bo consistently beats Mortis and Edgar.
Bo performs best in Gem Grab (A-tier, 80/100). The Controller kit — denies zones and controls objective access with area abilities — is directly rewarded in Gem Grab, which is why Bo climbs higher here than in other modes. See the mode ratings section for a full breakdown.
Bo pairs best with Charlie and Emz. Since Bo denies zones and controls objective access with area abilities, teammates that cover the opposite role — whether that is frontline presence, healing, or ranged poke — create the most complete comp.
To play Bo well, focus on Gem Grab where the mode rating is highest, and lean into being a Controller that denies zones and controls objective access with area abilities. Run Circling Eagle as the core build, track Piper and Brock on the enemy team, and pair with Charlie and Emz when possible.

HOW TO PLAY BO

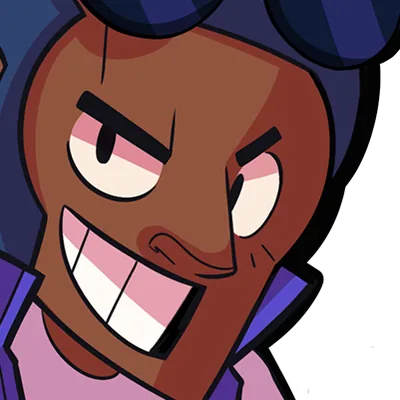
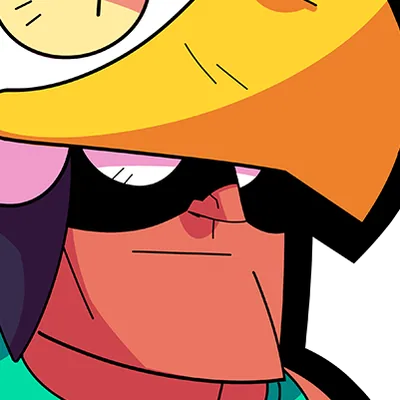
Bo fires three arrows in a narrow spread that deal high total damage when all three hit the same target, and his Super places hidden mines that detonate when enemies walk over them. His mines provide powerful passive zone control on objectives and chokepoints, making enemies afraid to move freely through commonly used paths. He is excellent in Hot Zone and Gem Grab where mine placement can dominate the contested objective area.

Place Bo's mines inside bushes near the objective rather than in open terrain where they are immediately visible, as hidden mines force enemies into a mind game about which bushes are safe to walk through. His triple arrow deals full damage when aimed at medium range where all three arrows converge before spreading.

BO DEEP DIVES

Mode-specific stats and the top ranked Bo players globally. Each page shows win rate, pick rate, best maps and tier for that specific combination.

QUICK STATS

62.3% Win Rate
1.0% Pick Rate
A OVERALL TIER
Gem Grab BEST MODE

PRO TIPS

Controller Game Plan
Build your Super from safe positions and deploy it on the objective approach route, not reactively. Take Circling Eagle in most situations, switching to Snare a Bear on maps where enemies can close distance. A Super that wins map control is worth more than one used defensively.
PRIORITY
Draft Around Counters
Watch for Piper or Brock. Both Super Totem and Tripwire are in your kit — learn which one punishes your counters versus which gives you an escape window. Use your Gadget early rather than saving it for a desperate moment.
MATCHUP
Best Team Shape
Pair Bo with Charlie or Emz when possible. Build toward Catch a Bear in safe positions — it swings fights instantly, so activate it when your team has the edge, not when you are already behind.
TEAMPLAY