Hot Zone Tier List
Best brawlers for Hot Zone ranked by win rate and adjusted win rate from real match data.
Hot Zone is a zone-control mode where teams capture and hold marked areas. Rankings are based on adjusted win rate, which accounts for sample size to avoid small-sample bias.
| # | Brawler | Tier | Win Rate | Pick Rate |
|---|---|---|---|---|
| 1 |

Bolt
Strong choice. Holds zones by soaking damage. Hard to dislodge once positioned on an objective.
|
A | 83.2% | 4.9% |
| 2 |
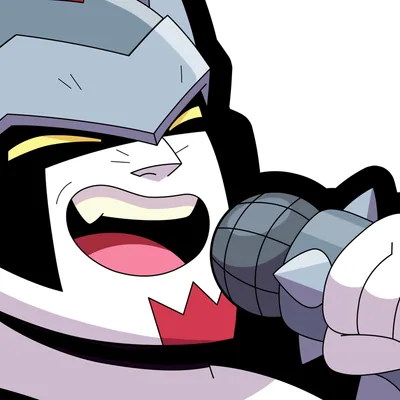
Damian
Solid option. Holds zones by soaking damage. Hard to dislodge once positioned on an objective.
|
B | 70.6% | 5.0% |
| 3 |
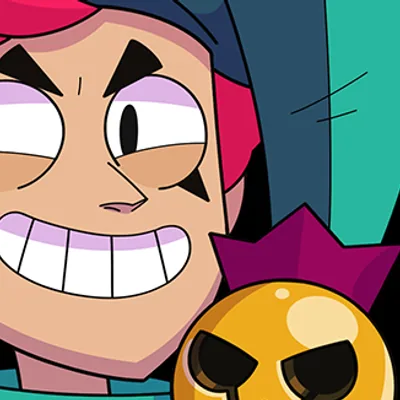
Chester
Solid option. Clears enemies off zones with burst damage. Needs teammates to hold afterward.
|
B | 67.8% | 5.7% |
| 4 |
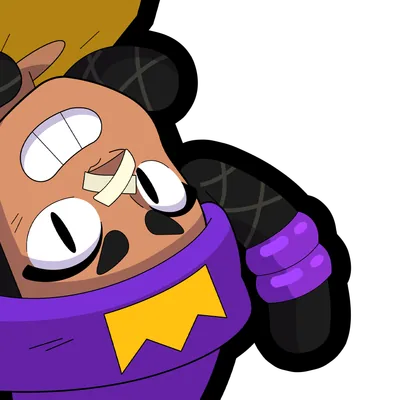
Mina
Solid option. Punishes enemies approaching zones from distance. Loses impact inside the zone.
|
B | 68.0% | 3.9% |
| 5 |
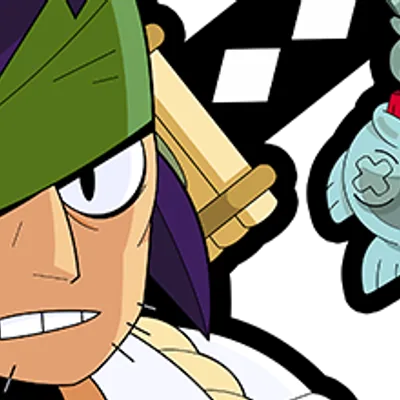
Kenji
Solid option. Clears enemies off zones with burst damage. Needs teammates to hold afterward.
|
B | 68.3% | 3.2% |
| 6 |
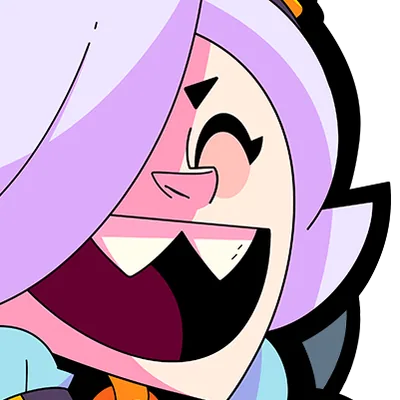
Colette
Solid option. Wins head-to-head fights on the zone. Pairs well with a tank anchor.
|
B | 63.6% | 4.4% |
| 7 |
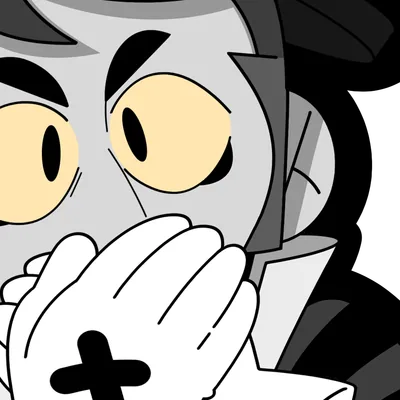
Gray
Solid option. Consistent area pressure denies enemy access to zones. High zone presence.
|
B | 86.5% | 1.4% |
| 8 |

Meeple
Solid option. Consistent area pressure denies enemy access to zones. High zone presence.
|
B | 61.6% | 4.8% |
| 9 |
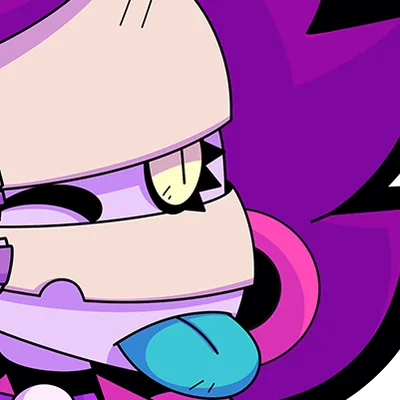
Emz
Solid option. Consistent area pressure denies enemy access to zones. High zone presence.
|
B | 70.8% | 2.1% |
| 10 |
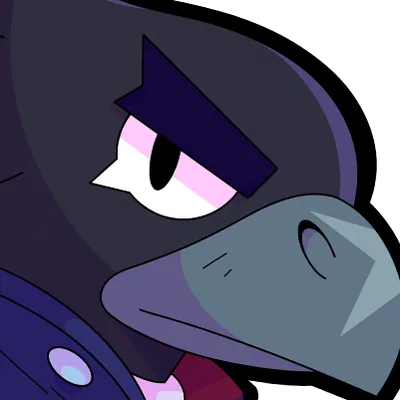
Crow
Solid option. Clears enemies off zones with burst damage. Needs teammates to hold afterward.
|
B | 61.3% | 3.8% |
| 11 |

Lou
Solid option. Consistent area pressure denies enemy access to zones. High zone presence.
|
B | 75.3% | 1.5% |
| 12 |
Mortis
Solid option. Clears enemies off zones with burst damage. Needs teammates to hold afterward.
|
B | 59.3% | 4.2% |
| 13 |
Lumi
Solid option. Wins head-to-head fights on the zone. Pairs well with a tank anchor.
|
B | 59.4% | 4.2% |
| 14 |
Najia
Solid option. Wins head-to-head fights on the zone. Pairs well with a tank anchor.
|
B | 59.1% | 4.1% |
| 15 |

Sirius
Solid option. Consistent area pressure denies enemy access to zones. High zone presence.
|
B | 71.6% | 1.4% |
| 16 |
Juju
Solid option. Consistent area pressure denies enemy access to zones. High zone presence.
|
B | 64.8% | 2.1% |
| 17 |

Starr Nova
Solid option. Clears enemies off zones with burst damage. Needs teammates to hold afterward.
|
B | 70.7% | 1.4% |
| 18 |

Charlie
Solid option. Consistent area pressure denies enemy access to zones. High zone presence.
|
B | 84.1% | 0.8% |
| 19 |
Bibi
Solid option. Holds zones by soaking damage. Hard to dislodge once positioned on an objective.
|
B | 74.2% | 1.2% |
| 20 |

Poco
Solid option. Heals teammates holding zones, directly extending time on point.
|
B | 77.8% | 0.9% |
| 21 |
Nita
Solid option. Wins head-to-head fights on the zone. Pairs well with a tank anchor.
|
B | 73.3% | 0.9% |
| 22 |
Frank
Solid option. Holds zones by soaking damage. Hard to dislodge once positioned on an objective.
|
B | 72.7% | 0.8% |
| 23 |
Chuck
Solid option. Clears enemies off zones with burst damage. Needs teammates to hold afterward.
|
B | 70.8% | 0.9% |
| 24 |
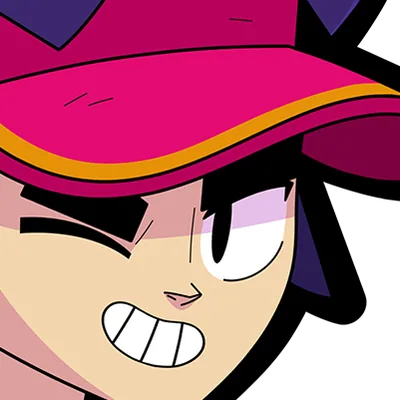
Fang
Solid option. Clears enemies off zones with burst damage. Needs teammates to hold afterward.
|
B | 66.1% | 1.2% |
| 25 |
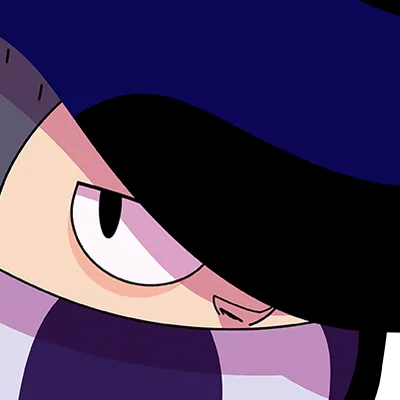
Edgar
Solid option. Clears enemies off zones with burst damage. Needs teammates to hold afterward.
|
B | 58.1% | 2.5% |
| 26 |
Alli
Solid option. Clears enemies off zones with burst damage. Needs teammates to hold afterward.
|
B | 73.2% | 0.8% |
| 27 |
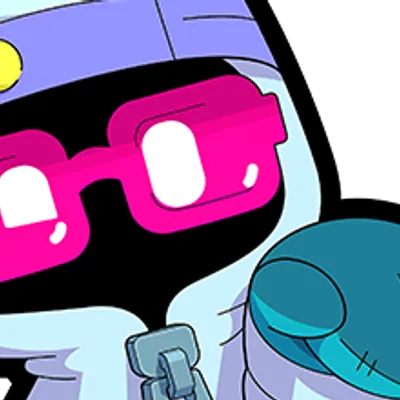
Shade
Solid option. Clears enemies off zones with burst damage. Needs teammates to hold afterward.
|
B | 58.5% | 2.2% |
| 28 |
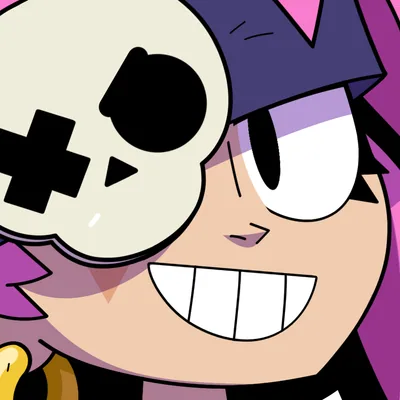
Penny
Solid option. Lobs attacks into zone centers without entering, making them costly to contest.
|
B | 71.1% | 0.9% |
| 29 |
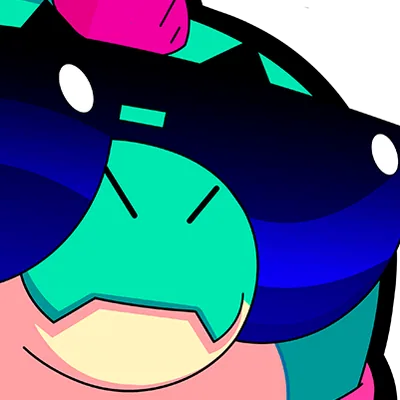
Buzz
Solid option. Holds zones by soaking damage. Hard to dislodge once positioned on an objective.
|
B | 76.5% | 0.6% |
| 30 |
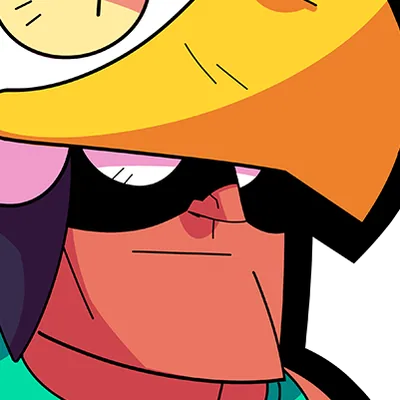
Bo
Solid option. Consistent area pressure denies enemy access to zones. High zone presence.
|
B | 58.7% | 1.7% |
| 31 |

Finx
Solid option. Consistent area pressure denies enemy access to zones. High zone presence.
|
B | 59.0% | 1.5% |
| 32 |
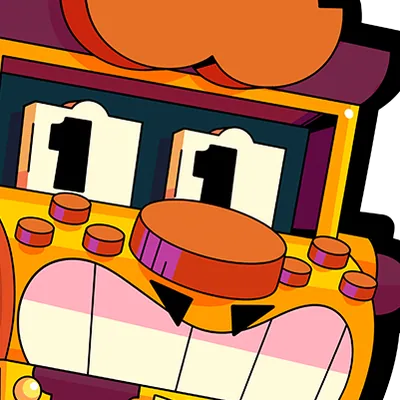
Griff
Solid option. Wins head-to-head fights on the zone. Pairs well with a tank anchor.
|
B | 63.8% | 0.9% |
| 33 |

Mr. P
Solid option. Lobs attacks into zone centers without entering, making them costly to contest.
|
B | -- | -- |
| 34 |

Bea
Solid option. Punishes enemies approaching zones from distance. Loses impact inside the zone.
|
B | -- | -- |
| 35 |
Surge
Solid option. Wins head-to-head fights on the zone. Pairs well with a tank anchor.
|
B | -- | -- |
| 36 |
Amber
Solid option. Consistent area pressure denies enemy access to zones. High zone presence.
|
B | -- | -- |
| 37 |
Tara
Solid option. Consistent area pressure denies enemy access to zones. High zone presence.
|
B | -- | -- |
| 38 |
Barley
Solid option. Rains attacks over obstacles into the zone. Forces enemies to keep moving.
|
B | -- | -- |
| 39 |
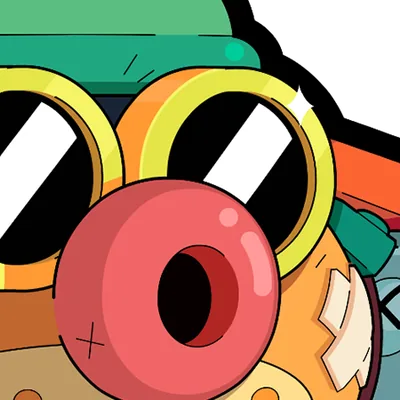
Hank
Solid option. Holds zones by soaking damage. Hard to dislodge once positioned on an objective.
|
B | -- | -- |
| 40 |
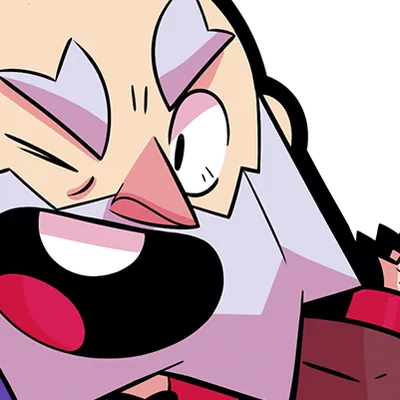
Dynamike
Solid option. Rains attacks over obstacles into the zone. Forces enemies to keep moving.
|
B | -- | -- |
| 41 |

Berry
Solid option. Heals teammates holding zones, directly extending time on point.
|
B | -- | -- |
| 42 |

Ollie
Solid option. Consistent area pressure denies enemy access to zones. High zone presence.
|
B | -- | -- |
| 43 |

Jessie
Solid option. Consistent area pressure denies enemy access to zones. High zone presence.
|
B | -- | -- |
| 44 |
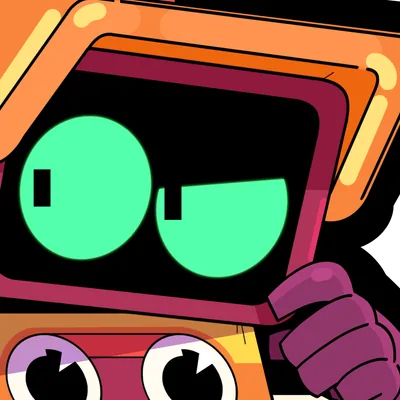
R-t
Solid option. Wins head-to-head fights on the zone. Pairs well with a tank anchor.
|
B | -- | -- |
| 45 |
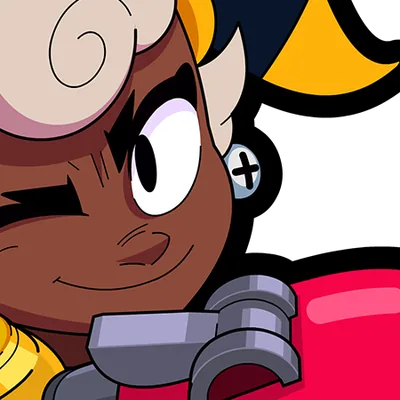
Maisie
Solid option. Wins head-to-head fights on the zone. Pairs well with a tank anchor.
|
B | -- | -- |
| 46 |

Ziggy
Solid option. Clears enemies off zones with burst damage. Needs teammates to hold afterward.
|
B | -- | -- |
| 47 |
Shelly
Solid option. Wins head-to-head fights on the zone. Pairs well with a tank anchor.
|
B | -- | -- |
| 48 |

Sprout
Solid option. Rains attacks over obstacles into the zone. Forces enemies to keep moving.
|
B | -- | -- |
| 49 |

Gale
Solid option. Consistent area pressure denies enemy access to zones. High zone presence.
|
B | -- | -- |
| 50 |

Byron
Solid option. Heals teammates holding zones, directly extending time on point.
|
B | -- | -- |
| 51 |
Sandy
Solid option. Consistent area pressure denies enemy access to zones. High zone presence.
|
B | -- | -- |
| 52 |
Ruffs
Solid option. Heals teammates holding zones, directly extending time on point.
|
B | 57.1% | 0.7% |
| 53 |
Eve
Solid option. Consistent area pressure denies enemy access to zones. High zone presence.
|
B | -- | -- |
| 54 |
Draco
Solid option. Holds zones by soaking damage. Hard to dislodge once positioned on an objective.
|
B | -- | -- |
| 55 |
Jae-yong
Solid option. Heals teammates holding zones, directly extending time on point.
|
B | -- | -- |
| 56 |
Gus
Solid option. Heals teammates holding zones, directly extending time on point.
|
B | -- | -- |
| 57 |
Clancy
Solid option. Wins head-to-head fights on the zone. Pairs well with a tank anchor.
|
B | -- | -- |
| 58 |

El Primo
Solid option. Holds zones by soaking damage. Hard to dislodge once positioned on an objective.
|
B | -- | -- |
| 59 |

Glowy
Solid option. Heals teammates holding zones, directly extending time on point.
|
B | -- | -- |
| 60 |
Jacky
Solid option. Holds zones by soaking damage. Hard to dislodge once positioned on an objective.
|
B | -- | -- |
| 61 |
Carl
Solid option. Wins head-to-head fights on the zone. Pairs well with a tank anchor.
|
B | -- | -- |
| 62 |
Bull
Solid option. Holds zones by soaking damage. Hard to dislodge once positioned on an objective.
|
B | 54.5% | 0.6% |
| 63 |
Trunk
Solid option. Holds zones by soaking damage. Hard to dislodge once positioned on an objective.
|
B | 54.0% | 0.7% |
| 64 |

Otis
Solid option. Consistent area pressure denies enemy access to zones. High zone presence.
|
B | 51.5% | 1.8% |
| 65 |
Gigi
Solid option. Clears enemies off zones with burst damage. Needs teammates to hold afterward.
|
B | -- | -- |
| 66 |

Spike
Solid option. Consistent area pressure denies enemy access to zones. High zone presence.
|
B | 53.1% | 0.6% |
| 67 |
Tick
Solid option. Rains attacks over obstacles into the zone. Forces enemies to keep moving.
|
B | -- | -- |
| 68 |

Ash
Solid option. Holds zones by soaking damage. Hard to dislodge once positioned on an objective.
|
B | -- | -- |
| 69 |
Melodie
Solid option. Clears enemies off zones with burst damage. Needs teammates to hold afterward.
|
B | -- | -- |
| 70 |

Pam
Solid option. Heals teammates holding zones, directly extending time on point.
|
B | -- | -- |
| 71 |
Darryl
Solid option. Holds zones by soaking damage. Hard to dislodge once positioned on an objective.
|
B | -- | -- |
| 72 |
Bonnie
Solid option. Punishes enemies approaching zones from distance. Loses impact inside the zone.
|
B | -- | -- |
| 73 |
Kaze
Solid option. Clears enemies off zones with burst damage. Needs teammates to hold afterward.
|
B | -- | -- |
| 74 |
Leon
Solid option. Clears enemies off zones with burst damage. Needs teammates to hold afterward.
|
B | 51.3% | 1.4% |
| 75 |
Nani
Solid option. Punishes enemies approaching zones from distance. Loses impact inside the zone.
|
B | -- | -- |
| 76 |
Buster
Solid option. Holds zones by soaking damage. Hard to dislodge once positioned on an objective.
|
B | -- | -- |
| 77 |
Angelo
Solid option. Punishes enemies approaching zones from distance. Loses impact inside the zone.
|
B | -- | -- |
| 78 |
Larry & Lawrie
Solid option. Lobs attacks into zone centers without entering, making them costly to contest.
|
B | -- | -- |
| 79 |
Pearl
Solid option. Wins head-to-head fights on the zone. Pairs well with a tank anchor.
|
B | -- | -- |
| 80 |
Belle
Solid option. Punishes enemies approaching zones from distance. Loses impact inside the zone.
|
B | -- | -- |
| 81 |
Doug
Solid option. Heals teammates holding zones, directly extending time on point.
|
B | -- | -- |
| 82 |
Colt
Solid option. Wins head-to-head fights on the zone. Pairs well with a tank anchor.
|
B | 50.0% | 0.9% |
| 83 |
Willow
Solid option. Consistent area pressure denies enemy access to zones. High zone presence.
|
B | -- | -- |
| 84 |
Meg
Solid option. Holds zones by soaking damage. Hard to dislodge once positioned on an objective.
|
B | -- | -- |
| 85 |
Stu
Situational. Clears enemies off zones with burst damage. Needs teammates to hold afterward.
|
C | 49.4% | 1.6% |
| 86 |

Squeak
Situational. Consistent area pressure denies enemy access to zones. High zone presence.
|
C | -- | -- |
| 87 |

Kit
Situational. Heals teammates holding zones, directly extending time on point.
|
C | -- | -- |
| 88 |
Mandy
Situational. Punishes enemies approaching zones from distance. Loses impact inside the zone.
|
C | -- | -- |
| 89 |

Grom
Situational. Rains attacks over obstacles into the zone. Forces enemies to keep moving.
|
C | -- | -- |
| 90 |

Piper
Situational. Punishes enemies approaching zones from distance. Loses impact inside the zone.
|
C | -- | -- |
| 91 |

8-bit
Situational. Wins head-to-head fights on the zone. Pairs well with a tank anchor.
|
C | -- | -- |
| 92 |
Moe
Situational. Wins head-to-head fights on the zone. Pairs well with a tank anchor.
|
C | -- | -- |
| 93 |
Pierce
Situational. Punishes enemies approaching zones from distance. Loses impact inside the zone.
|
C | 49.5% | 4.1% |
| 94 |

Mico
Situational. Clears enemies off zones with burst damage. Needs teammates to hold afterward.
|
C | -- | -- |
| 95 |
Sam
Situational. Holds zones by soaking damage. Hard to dislodge once positioned on an objective.
|
C | -- | -- |
| 96 |
Lily
Situational. Clears enemies off zones with burst damage. Needs teammates to hold afterward.
|
C | -- | -- |
| 97 |

Rico
Situational. Wins head-to-head fights on the zone. Pairs well with a tank anchor.
|
C | -- | -- |
| 98 |

Janet
Situational. Wins head-to-head fights on the zone. Pairs well with a tank anchor.
|
C | -- | -- |
| 99 |

Lola
Situational. Wins head-to-head fights on the zone. Pairs well with a tank anchor.
|
C | -- | -- |
| 100 |
Rosa
Situational. Holds zones by soaking damage. Hard to dislodge once positioned on an objective.
|
C | -- | -- |
| 101 |

Brock
Situational. Punishes enemies approaching zones from distance. Loses impact inside the zone.
|
C | -- | -- |
| 102 |

Cordelius
Situational. Clears enemies off zones with burst damage. Needs teammates to hold afterward.
|
C | 45.5% | 0.6% |
Updated 2026-06-30. Minimum 30 matches required for win rate display. Tier reflects adjusted win rate.